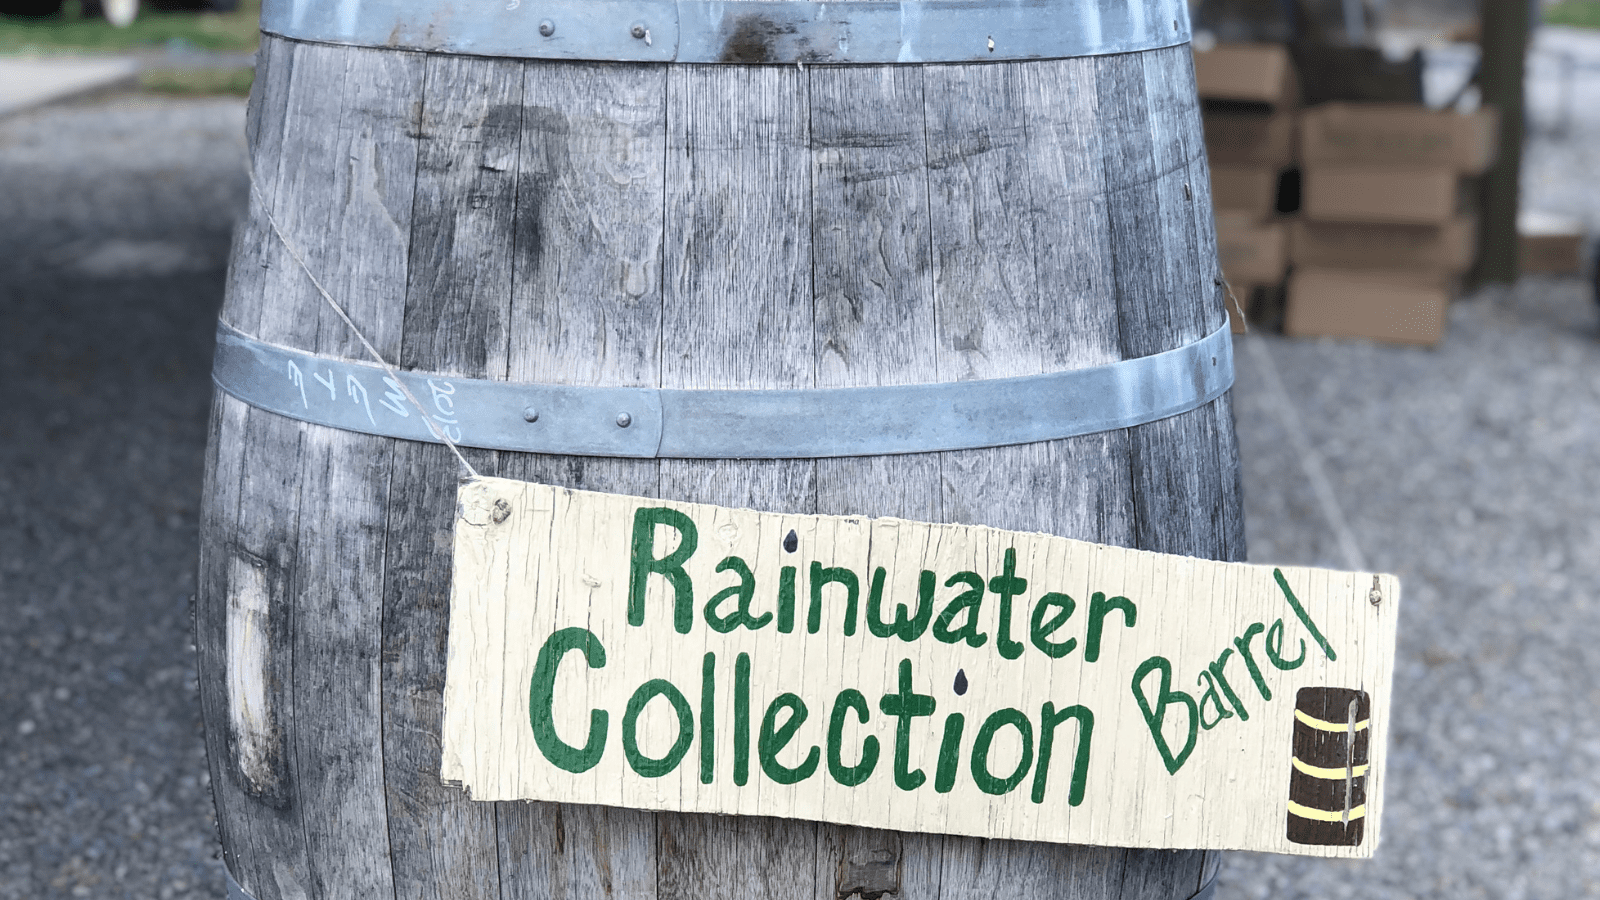
Rain barrels are an eco-friendly and cost-effective way to collect and store rainwater for use in your garden or home. They help conserve water, reduce your utility bills, and protect the environment by reducing stormwater runoff. This comprehensive guide will cover everything you need to know about rain barrels, including how to construct your own, the top models available for purchase, reasons for using a rain barrel, competing options, and other relevant considerations. Let’s dive in!
Table of Contents
Table: Benefits of Using a Rain Barrel
There are several reasons why using a rain barrel is a great idea for homeowners and gardeners.
| Benefits of Using a Rain Barrel | Description |
|---|---|
| Water Conservation | Rain barrels help conserve water by collecting and storing rainwater that would otherwise be wasted as runoff. This reduces the demand for municipal water and helps preserve natural resources. |
| Cost Savings | By using rainwater for your garden and other outdoor tasks, you can significantly reduce your water bills. |
| Improved Plant Health | Rainwater is free of chemicals like chlorine and fluoride, which are often found in municipal water. This can lead to healthier plants and better-tasting produce. |
| Reduced Stormwater Runoff | Collecting rainwater helps reduce the amount of stormwater runoff that can lead to erosion and water pollution. |
| Environmental Benefits | Using a rain barrel helps conserve water resources and protect local ecosystems. |
DIY Rain Barrel Construction
Building your own rain barrel is an affordable and rewarding project that can be completed in just a few hours. Here’s a step-by-step guide on how to construct your own rain barrel:
Step 1: Gather the Rain Barrel Construction Materials:
- A 55-gallon food-grade plastic barrel or other large container
- A spigot with a hose connector
- A downspout adapter
- A downspout diverter (optional)
- A drill with a hole saw attachment
- A jigsaw or saw (for cutting downspout)
- A fine mesh screen (to filter debris)
- Plumber’s tape
- Cinder blocks, bricks, or a sturdy platform (to elevate the barrel)
- Overflow hose (optional)
Step 2: Clean the barrel
Ensure the barrel is clean and free of any contaminants. If using a recycled barrel, rinse it out thoroughly with a mixture of water and mild detergent.
Step 3: Install the spigot
Drill a hole near the bottom of the barrel using a hole saw attachment sized for your spigot. Apply plumber’s tape to the spigot threads and screw it into the hole until tight. Make sure the hose connector is facing downward.
Step 4: Create the filter screen
Cut a piece of fine mesh screen large enough to cover the top of the barrel. Secure the screen with a bungee cord, zip ties, or a metal clamp to keep out debris and mosquitoes.
Step 5: Modify the downspout
Measure the height of your barrel and cut your downspout to the appropriate length using a jigsaw or saw. Attach the downspout adapter to the end of the downspout.
Step 6: Install the downspout diverter (optional)
If you’re using a downspout diverter, follow the manufacturer’s instructions to install it on your downspout. The diverter will redirect water to your barrel when it’s empty and send excess water down the downspout when the barrel is full.
Step 7: Elevate the barrel
Place your barrel on a sturdy platform, such as cinder blocks or bricks, to elevate it off the ground. This will create better water pressure when using the spigot and make it easier to access the spigot for filling watering cans or connecting a hose.
Step 8: Connect the barrel to the downspout
Place your rain barrel under the downspout adapter or diverter. Make sure the mesh screen is securely attached and covering the top of the barrel.
Step 9: Attach an overflow hose (optional)
If your barrel doesn’t have a built-in overflow, you can attach a hose to the top of the barrel or drill a hole near the top and insert a hose fitting. Direct the overflow hose away from your foundation to prevent water damage.
Top Rain Barrel Models for Purchase
If you prefer to buy a ready-made rain barrel instead of constructing your own, there are several top models available. Some of the best options include:
- RTS Home Accents 50-Gallon Rain Water Collection Barrel
- Good Ideas Rain Wizard 50-Gallon Barrel
- Algreen Castilla 50-Gallon Rain Barrel
- Mirainbarrel 58-Gallon Upcycled Rain Barrel
- EarthMinded RainStation 50-Gallon Rain Barrel
Each of these models has its own unique features and advantages, so it’s essential to research and compare them to find the best option for your needs.
Competing Options for Rainwater Collection
While rain barrels are an excellent choice for rainwater collection, there are other competing options available. Some of these alternatives include:
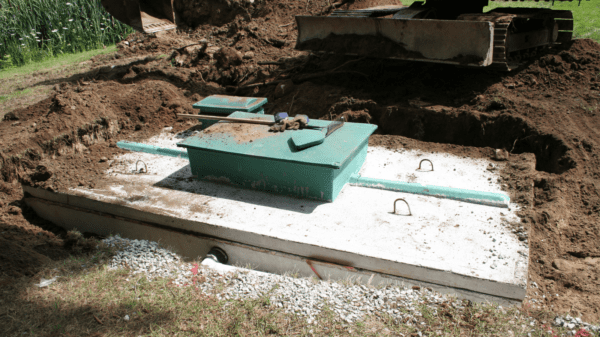
- Rainwater Harvesting Systems: These systems collect rainwater from your roof and store it in large cisterns or underground tanks. They can hold much more water than rain barrels and can be connected to your home’s plumbing system for indoor use.
- Rain Gardens: Rain gardens are shallow, landscaped depressions that collect and filter stormwater runoff. They provide an attractive and eco-friendly alternative to traditional rainwater collection methods but don’t provide water for later use.
- Swales: Swales are shallow, linear ditches that direct rainwater runoff to infiltration areas or storage basins. They can be an effective way to manage stormwater runoff and prevent erosion but don’t offer water storage for later use.
Tips for Maximizing Rain Barrel Efficiency
To make the most of your rain barrel and optimize its performance, consider the following tips:
- Multiple Barrels: Installing multiple rain barrels or connecting several barrels in a series can increase your rainwater storage capacity. This can be especially helpful if you have a large garden or during periods of low rainfall.
- Proper Sizing: Choose a rain barrel size that suits your garden’s watering needs and the size of your roof. A general rule of thumb is that 1 inch of rainfall on a 1,000 square foot roof can generate about 600 gallons of rainwater.
- Rain Chain: Consider using a decorative rain chain instead of a downspout to direct water into your rain barrel. Rain chains can add aesthetic appeal to your garden while still serving a functional purpose.
- Drip Irrigation: Connect your rain barrel to a drip irrigation system to efficiently water your garden. Drip irrigation delivers water directly to plant roots, reducing water waste due to evaporation or runoff.
- Rain Barrel Placement: Locate your rain barrel near the areas where you’ll be using the water most frequently, such as close to your garden or outdoor faucet. This will minimize the need for long hoses and make it easier to access the stored water.
- Roof Material: Be mindful of the material your roof is made of, as some materials, like treated cedar shingles, can leach chemicals into the rainwater. If you’re concerned about water quality, consider using a first-flush diverter to capture and discard the initial rainwater, which often contains the highest concentration of contaminants.
Rain Barrel Accessories and Add-ons
To enhance your rain barrel experience and improve its functionality, consider these useful accessories and add-ons:
- First-Flush Diverter: This device captures the initial rainwater from your roof, which typically contains the most contaminants, and diverts it away from your rain barrel, ensuring cleaner water for your garden.
- Rain Barrel Stand: A sturdy stand can elevate your rain barrel, making it easier to access the spigot and improving water pressure.
- Downspout Diverters: These devices direct water from your downspout to your rain barrel when it’s empty and send excess water down the downspout when the barrel is full. This helps prevent overflow and potential water damage.
- Rain Barrel Pump: A pump can increase water pressure, making it easier to use hoses or sprinklers connected to your rain barrel. Some pumps are solar-powered, adding an eco-friendly element to your rainwater collection system.
- Rain Barrel Linking Kit: This kit allows you to connect multiple rain barrels in a series, increasing your overall rainwater storage capacity.
By incorporating these tips, accessories, and add-ons, you can optimize the efficiency and functionality of your rain barrel, making it an even more valuable asset for your garden and home.
Troubleshooting Common Rain Barrel Issues
As with any outdoor equipment, rain barrels can encounter problems or issues that may require troubleshooting. Here are some common rain barrel issues and solutions:
- Slow Flow Rate: If water isn’t flowing from the spigot as quickly as it should, check for clogs in the spigot, hose, or filter screen. Ensure the barrel is elevated enough to create adequate water pressure.
- Algae Growth: If algae start growing inside your rain barrel, make sure it’s sealed and not exposed to direct sunlight, as sunlight can promote algae growth. If algae persist, consider adding a few drops of non-toxic algaecide to the water.
- Leaks: If your rain barrel is leaking, first determine the source of the leak. If it’s around the spigot, try tightening it or applying plumber’s tape to the threads. If the leak is coming from a crack in the barrel, repair it using a plastic repair kit or waterproof sealant.
- Overflow: If your rain barrel overflows frequently, consider adding an overflow hose or linking it to another barrel to increase storage capacity. Alternatively, you can install a downspout diverter to direct excess water away from the barrel when it’s full.
- Mosquitoes: To prevent mosquitoes from breeding in your rain barrel, ensure it’s sealed and has a tight-fitting mesh screen on top. If mosquitoes persist, consider using a non-toxic mosquito dunk to kill larvae.
- Local Regulations: Check your local regulations and building codes to ensure rainwater collection is allowed in your area. Some regions have restrictions or require permits for rainwater harvesting systems.
- Water Quality: Rainwater collected from roofs can contain contaminants, such as bird droppings, leaves, or debris. While this water is generally safe for outdoor use, it’s not suitable for drinking unless treated.
Winterizing Your Rain Barrel
In regions with freezing temperatures during winter, it’s essential to winterize your rain barrel to prevent damage from ice and freezing water. Follow these steps to properly winterize your rain barrel:
- Drain the barrel: Before temperatures drop below freezing, drain your rain barrel completely to prevent water from freezing and expanding, which can crack the barrel.
- Disconnect downspout: Disconnect the downspout from the rain barrel to prevent water from entering the barrel during winter.
- Store the barrel: If possible, store your rain barrel in a garage, shed, or other sheltered area to protect it from harsh winter conditions. If you must leave it outside, turn it upside down to prevent water from collecting inside.
- Reconnect downspout: Reconnect your downspout to its original configuration or install a temporary downspout extender to direct water away from your home’s foundation.
- Perform maintenance: Use the winter months as an opportunity to clean and inspect your rain barrel for any damage or wear.
By following these winterizing steps, you’ll help ensure your rain barrel stays in good condition and is ready for use when warmer weather returns.
Conclusion
Rain barrels provide numerous benefits for homeowners, gardeners, and the environment. This comprehensive guide has covered everything you need to know about rain barrels, from constructing your own to purchasing top models, along with alternative rainwater collection options and important considerations. By following the tips, troubleshooting advice, and winterizing steps outlined in this guide, you can ensure your rain barrel remains a valuable and efficient resource for years to come. Embrace the sustainable practice of rainwater harvesting, and enjoy the benefits it brings to your garden, home, and the environment.

