Canning is an ancient food preservation technique that has evolved over time to become a popular and effective method for storing a wide variety of foods. It is a process that involves sealing cooked or raw food in airtight jars and then heating the jars to a specific temperature to kill microorganisms, ultimately ensuring that the food remains safe and delicious for long periods. This comprehensive guide will teach you the fundamentals of home canning, address common mistakes that beginners often make, and provide you with useful resources to help you get started on your canning journey.
Table of Contents
The Canning Process
The canning process can be broken down into three main stages:
- Preparation: This stage involves selecting and washing fresh produce, preparing the jars and lids, and assembling the canning equipment.
- Processing: In this stage, the food is packed into jars, leaving the appropriate headspace, and then the jars are sealed with lids and bands.
- Heat Treatment: The filled jars are heated to a specific temperature for a set period to kill any harmful microorganisms, and then they are allowed to cool and seal properly.
Types of Canning
There are two primary methods of home canning:
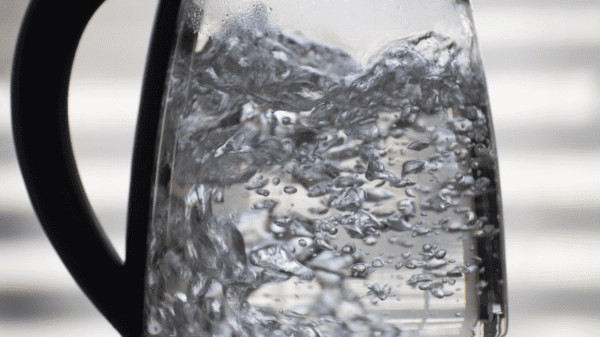
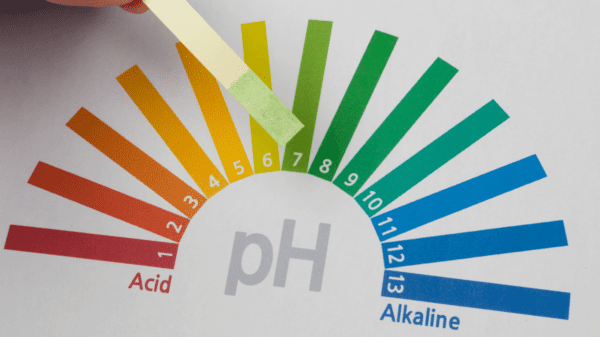
- Water Bath Canning: This method is ideal for high-acid foods like fruits, pickles, jams, and jellies. It involves submerging the filled jars in boiling water and processing them at a temperature of 212°F (100°C).
- Pressure Canning: This method is necessary for low-acid foods like vegetables, meats, and poultry. It requires a specialized pressure canner to heat the jars at a higher temperature (240°F or 116°C) to destroy harmful bacteria, like Clostridium botulinum, which can cause botulism.
Equipment Needed for Canning
To start canning at home, you will need the following equipment:
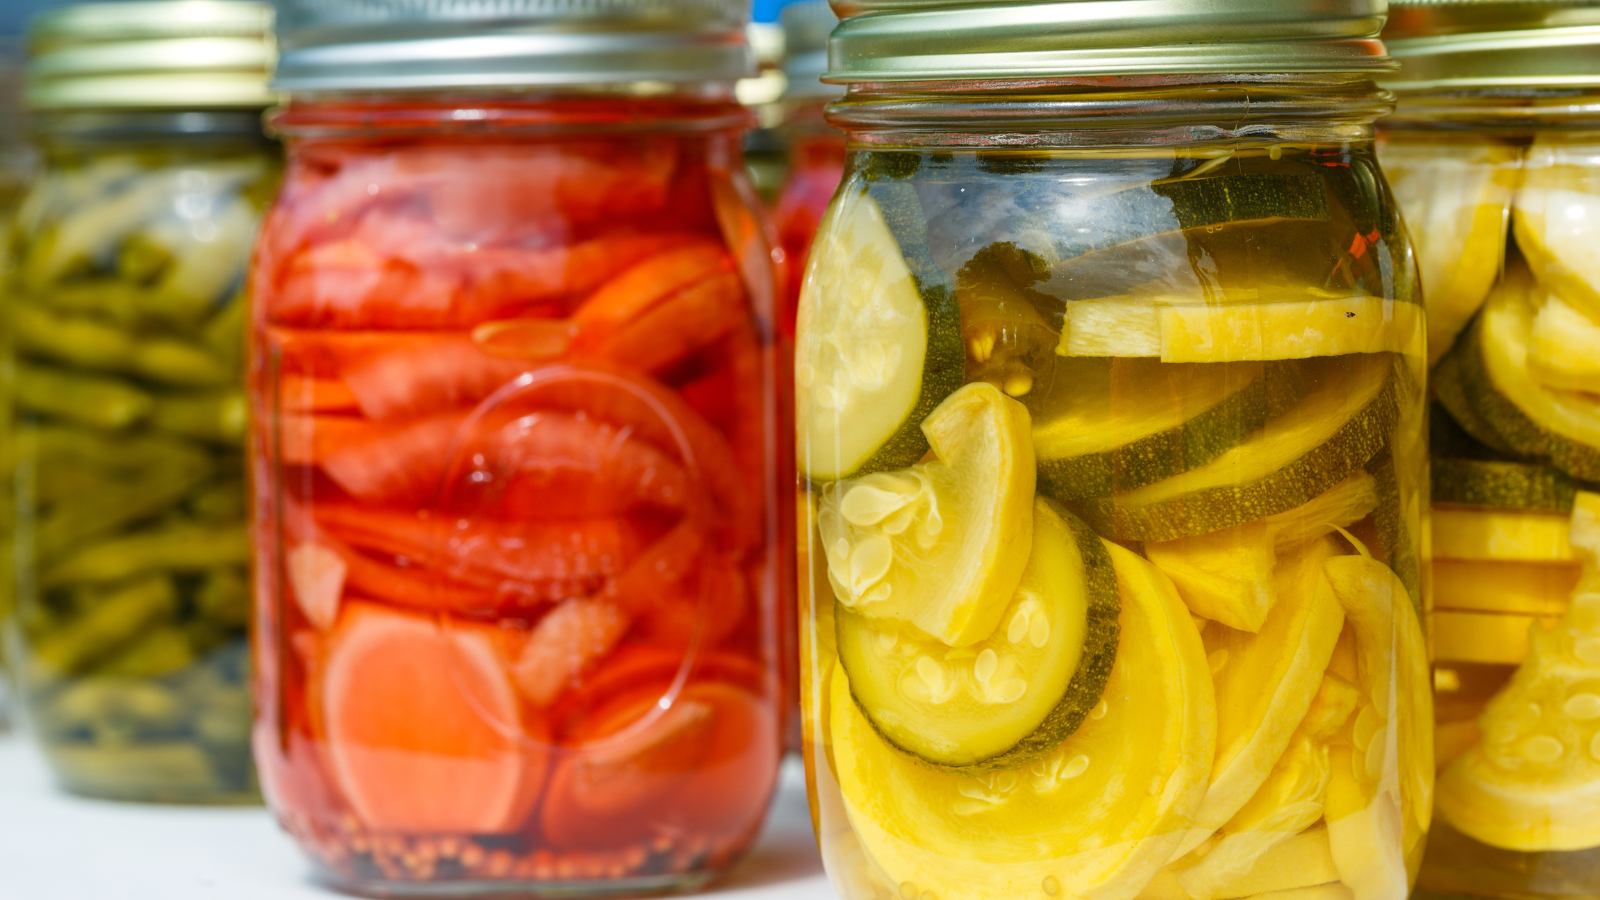
- Canning Jars: Mason jars with two-piece lids (flat lid and screw band) are the most common choice for home canning. They come in various sizes, from half-pint to quart jars.
- Canning Rack: A rack helps to keep jars from touching the bottom of the pot, preventing breakage and ensuring even heat distribution.
- Jar Lifter: This tool is essential for safely removing hot jars from boiling water or a pressure canner.
- Funnel: A wide-mouthed funnel makes it easier to fill jars without spilling or contaminating the jar rims.
- Bubble Remover and Headspace Tool: This tool helps remove air bubbles from the jars and measure the appropriate headspace.
- Water Bath Canner or Pressure Canner: Choose the appropriate canner based on the type of food you are processing.
Step-by-Step Guide to Canning
Follow these steps to can food at home:
- Select fresh, high-quality produce for canning. Wash and prepare the food according to your chosen recipe.
- Clean and sterilize the jars, lids, and bands by boiling them in water for 10 minutes.
- Prepare the canner by filling it with water and placing the canning rack at the bottom. Heat the water to the appropriate temperature based on your canning method.
- Fill the jars with food using a funnel, leaving the appropriate headspace as indicated by your recipe. Headspace is the space between the top of the food and the rim of the jar, which allows for expansion during processing.
- Remove air bubbles from the jars using a bubble remover or a non-metallic spatula. Adjust the headspace as needed.
- Wipe the rims of the jars with a clean, damp cloth to remove any residue that may interfere with the sealing process.
- Place the sterilized lids on the jars and secure them with the screw bands, tightening them just until fingertip-tight.
- Use a jar lifter to carefully lower the filled jars onto the canning rack in the canner. Ensure that the jars do not touch each other or the sides of the canner.
- Process the jars at the appropriate temperature and for the recommended time based on your canning method and recipe.
- Turn off the heat and carefully remove the jars using the jar lifter. Place them on a towel or cooling rack, leaving at least an inch of space between them to allow for proper air circulation.
- Allow the jars to cool undisturbed for 12-24 hours. As the jars cool, you may hear a “popping” sound, which indicates that the lids have sealed properly.
- Check the seals by pressing the center of the lid; it should not flex up or down. If a jar has not sealed, refrigerate it and consume the contents within a few days.
- Label the jars with the contents and the date, then store them in a cool, dark place.
Common Mistakes and How to Avoid Them
- Insufficient headspace: Leaving too little headspace may cause the contents to overflow during processing, preventing a proper seal. Follow your recipe’s guidelines for the appropriate headspace.
- Over-tightening bands: Screw bands should be tightened just until fingertip-tight. Over-tightening may cause the lids to buckle, preventing a proper seal.
- Using damaged or chipped jars: Inspect jars for cracks, chips, or other damage before use. Damaged jars may not seal properly or could break during processing.
- Reusing lids: Never reuse lids for home canning, as their sealing compound may have degraded, preventing a proper seal.
- Ignoring processing times: Follow your recipe’s recommended processing times and temperatures to ensure the food is safe and shelf-stable.
Resources to Get Started
Here are some resources to help you get started with home canning:
- National Center for Home Food Preservation (https://nchfp.uga.edu/): Offers research-based information on food preservation techniques, including canning, freezing, and drying.
- Ball Canning (https://www.freshpreserving.com/): Provides canning recipes, equipment, and tips from a trusted source in the canning industry.
- USDA Complete Guide to Home Canning (https://nchfp.uga.edu/publications/publications_usda.html): A comprehensive guide to home canning from the United States Department of Agriculture.
- The All New Ball Book of Canning and Preserving (https://www.amazon.com/All-New-Ball-Book-Canning/dp/0848746783): A popular canning book featuring over 350 recipes and step-by-step instructions for preserving various types of food.
- Canning community forums and social media groups: Connect with experienced canners and beginners alike to ask questions, share recipes, and learn from others’ experiences.
As you gain experience, you may want to experiment with different recipes and techniques to create unique preserves and tailor them to your tastes. Canning not only provides a way to enjoy seasonal produce year-round but also allows you to create thoughtful, homemade gifts for family and friends.
Remember, safety should always be your top priority when canning. Always follow the recommended guidelines, temperatures, and processing times to ensure the food you preserve remains safe for consumption.
In summary, home canning is a valuable skill that can provide you with an abundance of delicious, nutritious, and safely preserved food. By following this guide and utilizing the resources provided, you will be well on your way to mastering the art of home canning and enjoying the fruits of your labor for years to come. Happy canning!
Do you have any favorite recipes, tips, or canning stories? Let us know in the comment section!
What is the difference between food canning, jarring, and bottling?
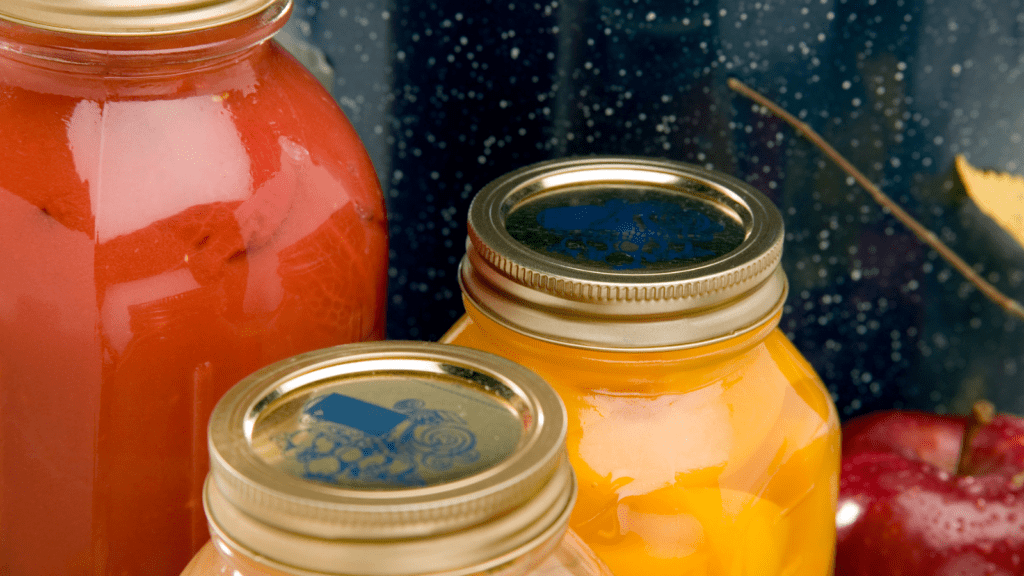
Food canning, food jarring, and food bottling are terms that are often used interchangeably, as they all refer to the process of preserving food in airtight containers to extend its shelf life. However, there may be subtle differences in the terminology based on the specific containers used and regional preferences. Here is a brief explanation of each term:
Food Canning:
This is a broad term that encompasses the process of preserving food by sealing it in airtight metal cans or glass jars. The food is typically processed by heating it to a specific temperature to kill microorganisms, thus ensuring that it remains safe for consumption over a longer period. The term “canning” originally referred to the use of metal cans, but it has since evolved to include glass jars as well.
Food Jarring:
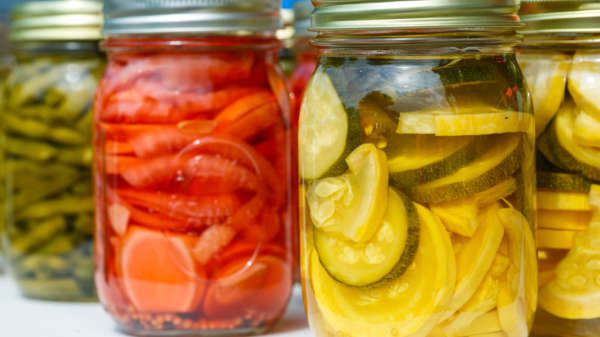
This term specifically refers to the process of preserving food in glass jars, also known as Mason jars. Food jarring follows the same principles as canning, involving the preparation of food, sealing it in an airtight container, and processing it with heat to kill microorganisms. The use of glass jars allows for better visibility of the contents and is a popular choice for home food preservation.
Food Bottling:
Food bottling is another term that refers to preserving food in glass containers, but it may be more commonly associated with preserving liquids or semi-liquids, such as sauces, syrups, or juices. The process is similar to food jarring, but the term “bottling” emphasizes the use of glass bottles rather than jars.
In conclusion, while these terms may have subtle differences in their emphasis on the type of container used, they all essentially describe the same process of preserving food in airtight containers using heat processing to ensure safety and longevity.

